How to Make an Oatmeal Bath at Home (Step-by-Step)
A simple, kitchen-cabinet method for turning plain oats into a soothing, skin-calming soak — no special equipment required beyond what you probably already own.
Why Homemade Oatmeal Baths Work
Oats contain beta-glucans and avenanthramides — natural compounds that calm itching, support the skin’s moisture barrier, and gently cleanse without stripping it. Making your own oatmeal bath means you control exactly what goes into the tub, which is especially useful if you’re avoiding fragrances or extra additives found in some store-bought soaks. The process itself takes about five minutes of prep, most of which is just grinding.
What You’ll Need
- 1 cup of plain, unflavored rolled or old-fashioned oats (not instant, flavored, or sugared)
- A food processor, high-speed blender, or coffee/spice grinder
- A fine-mesh strainer or muslin bag (optional, for easier cleanup)
- A warm bath drawn and ready
- A bath thermometer (optional but helpful)

A dedicated grinder makes quick work of turning oats into bath-ready powder.
Shop GrindersChoose Your Oats
Start with plain rolled or old-fashioned oats — avoid instant oats (they often contain added sugar or flavoring) and avoid steel-cut oats, which are too hard to grind evenly. One cup of dry oats is enough for a standard-sized bathtub.
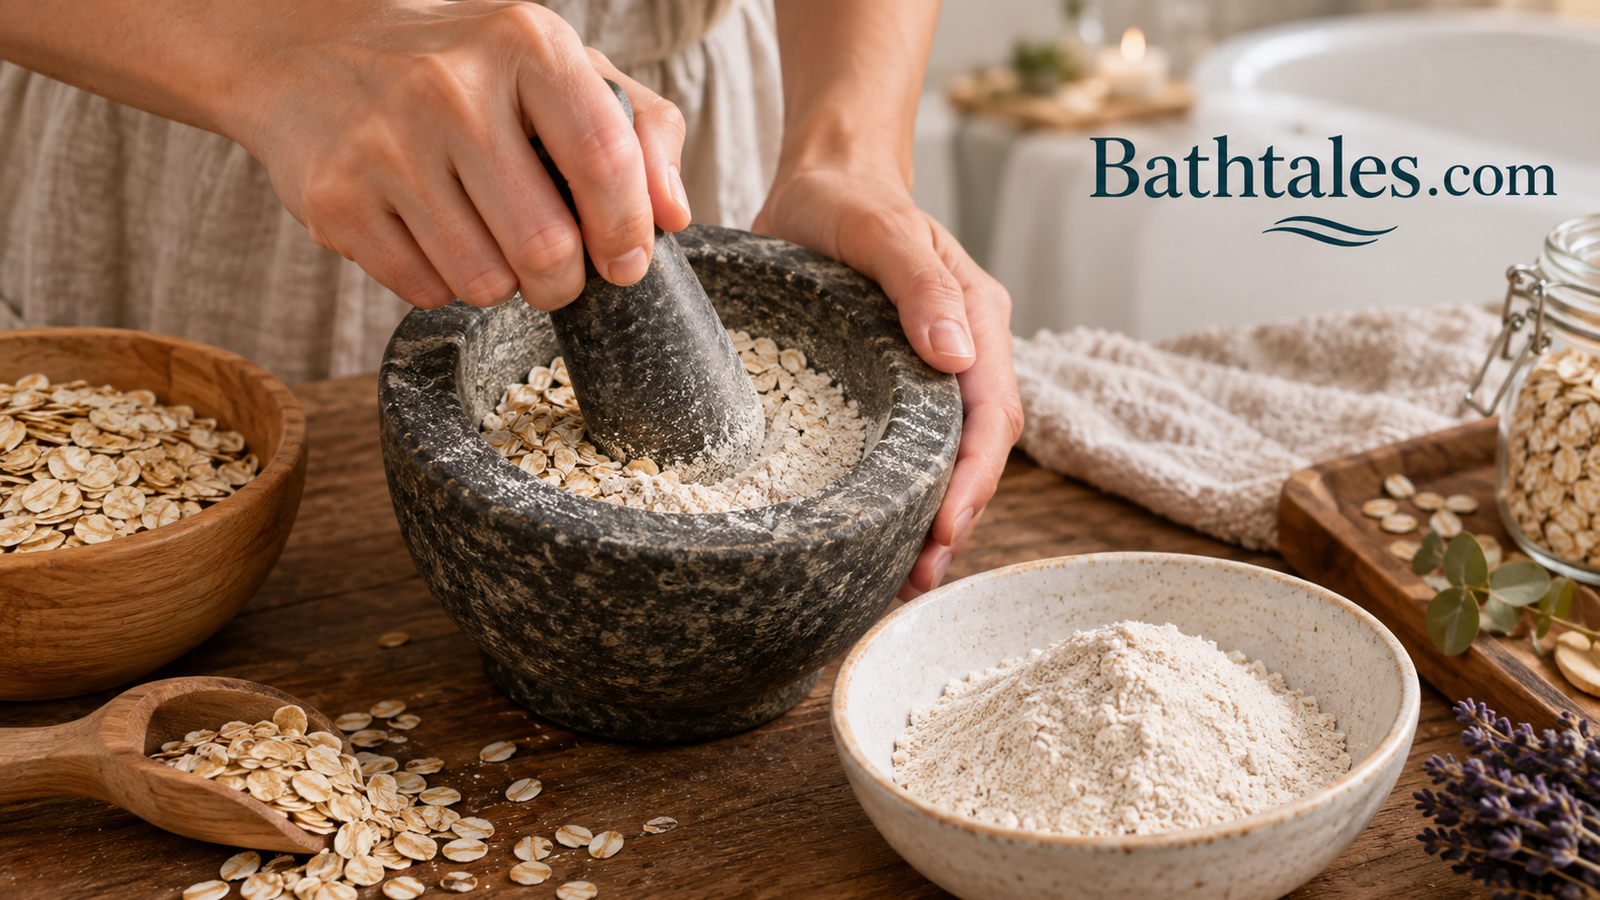
Grind the Oats to a Fine Powder
Add the oats to a food processor, blender, or grinder and pulse until they form a fine, flour-like powder with no visible flakes remaining. This is the single most important step — under-ground oats will clump and sink instead of dispersing through the water.
Test the Consistency
Stir a spoonful of your ground oats into a glass of warm water. If it turns the water milky and stays suspended for a minute or two without sinking to the bottom, it’s ready. If it clumps or sinks quickly, grind it a bit finer and test again.
Draw a Warm Bath
Fill the tub with warm — not hot — water. Hot water can dry out and further irritate already-sensitive skin, undoing much of the benefit of the oatmeal itself. A bath thermometer takes the guesswork out if you want to be precise.

Take the guesswork out of “warm, not hot” with a simple floating thermometer.
Shop Bath ThermometersAdd the Oatmeal to the Water
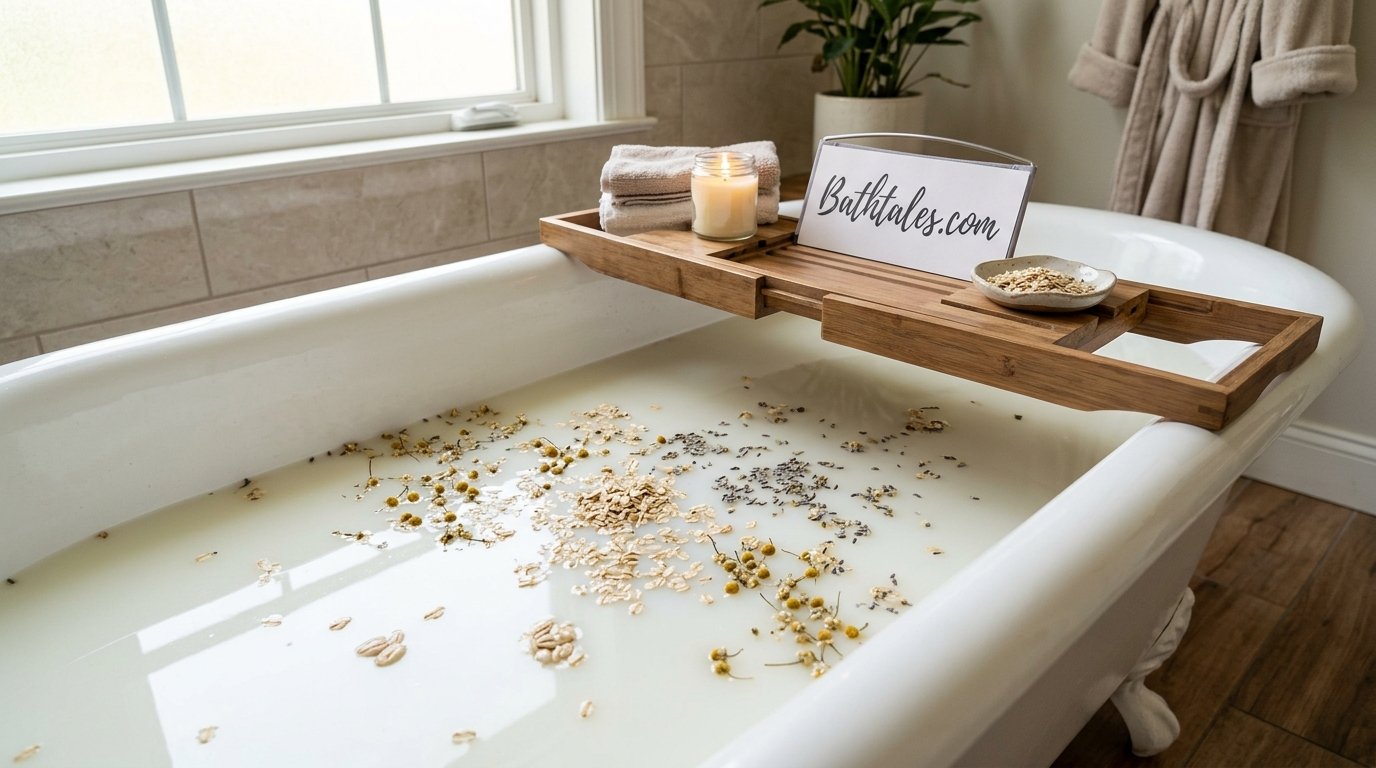
Sprinkle your ground oatmeal into the water gradually while swishing your hand through it, rather than dumping it all in one spot. This helps it disperse evenly instead of clumping in one area of the tub. The water should turn a soft, milky white.
Soak Time Guidelines
Settle in and soak for 10 to 20 minutes. Avoid scrubbing or rubbing the skin — let the water do the work. For kids, keep the soak closer to 10 minutes and always supervise.
Optional Add-Ins
Once you’re comfortable with a plain oatmeal bath, you can layer in a spoonful of honey for extra moisture or a few drops of a gentle essential oil like lavender for relaxation. Keep additions minimal if skin is very sensitive or reactive.
Rinse and Moisturize After
Drain the tub, rinse off lightly with clean warm water if the oat residue feels heavy, and pat skin dry with a towel rather than rubbing. Apply a fragrance-free moisturizer while skin is still slightly damp to lock in hydration.
Storage & Make-Ahead Tips
Ground oatmeal keeps well for a few weeks in an airtight container stored somewhere cool and dry. Making a larger batch ahead of time — enough for four or five baths — saves you from grinding fresh every time. Just measure out a cup’s worth per bath from your stored batch.
Common Mistakes to Avoid
Avoid
- Using instant or flavored oats
- Grinding too coarsely
- Using hot rather than warm water
- Dumping oats in one spot
- Skipping post-bath moisturizer
Do Instead
- Use plain rolled oats
- Grind until flour-like
- Keep water warm, not hot
- Sprinkle gradually while swishing
- Moisturize while skin is damp
Frequently Asked Questions
How much oatmeal do I need per bath?
About one cup of ground oats is enough for a standard bathtub.
Can I use instant oatmeal?
It’s better to avoid it, since instant oats often contain added sugar or flavoring that isn’t ideal for skin contact.
Do I need a special grinder?
No — a food processor, blender, or coffee grinder all work fine, as long as the oats end up as a fine powder.
Will the oatmeal clog my drain?
Finely ground oatmeal is much less likely to clog than whole oats, and running water while draining reduces the risk further.
How long should I soak?
10 to 20 minutes is typical for adults; closer to 10 minutes for kids.
Can I make a batch ahead of time?
Yes, ground oatmeal stores well in an airtight container for a few weeks.
Is warm or hot water better?
Warm water is better — hot water can dry out and further irritate the skin.
Can I add essential oils?
Yes, in small amounts, though it’s best to keep it minimal for very sensitive skin.
Do I need to rinse off after?
A light rinse is optional, but pat dry rather than rubbing either way.
Can babies use a homemade oatmeal bath?
Yes, with plain, fragrance-free oats, lukewarm water, close supervision, and a shorter soak time.
Ready to Soak?
Making your own oatmeal bath takes about five minutes of prep and costs a fraction of store-bought options — the key is grinding the oats fine enough to turn the water milky rather than clumpy. Keep the water warm, soak for 10 to 20 minutes, and follow up with a good moisturizer for the best results.
Shop Ready-Made Oatmeal Soaks