How to Deep Clean a Bathroom: The Complete Room-by-Room Method
Regular wiping keeps a bathroom looking fine. A real deep clean is what actually removes grime, mold spores, and buildup hiding in grout, corners, and fixtures. Here’s the full process, done right.
What Actually Separates a Deep Clean From a Regular Clean
A weekly wipe-down handles surface grime — toothpaste splatter, a quick swipe of the mirror, a fast pass with a toilet brush. A deep clean goes further: it targets the buildup that a normal routine skips entirely, like grout lines, the underside of the toilet rim, the shower drain, and the grime that collects behind fixtures and inside vents.
This distinction matters because bathrooms are uniquely hospitable to mold, mildew, and bacteria — constant moisture, warm temperatures, and organic residue from soap and skin cells create exactly the environment these thrive in. Skipping deep cleaning doesn’t just mean a duller-looking bathroom; it means mold and mildew get a longer runway to establish themselves in grout, caulk, and corners where they’re much harder to remove later.
The good news is that a proper deep clean, done a few times a year with light maintenance in between, keeps your bathroom in a state where mold and heavy buildup rarely get the chance to take hold.
How Often Should You Deep Clean a Bathroom?
| Bathroom Type | Recommended Frequency | Why |
|---|---|---|
| High-traffic family bathroom | Every 2–3 weeks | More users, more soap residue and moisture |
| Guest or low-use bathroom | Monthly | Less buildup, but dust and mustiness still accumulate |
| Bathroom with a tub used daily | Weekly for the tub, monthly full clean | Standing water accelerates soap scum and mineral buildup |
| Humid climate / poor ventilation | Every 2 weeks | Higher mold and mildew risk |
Tools & Supplies Checklist
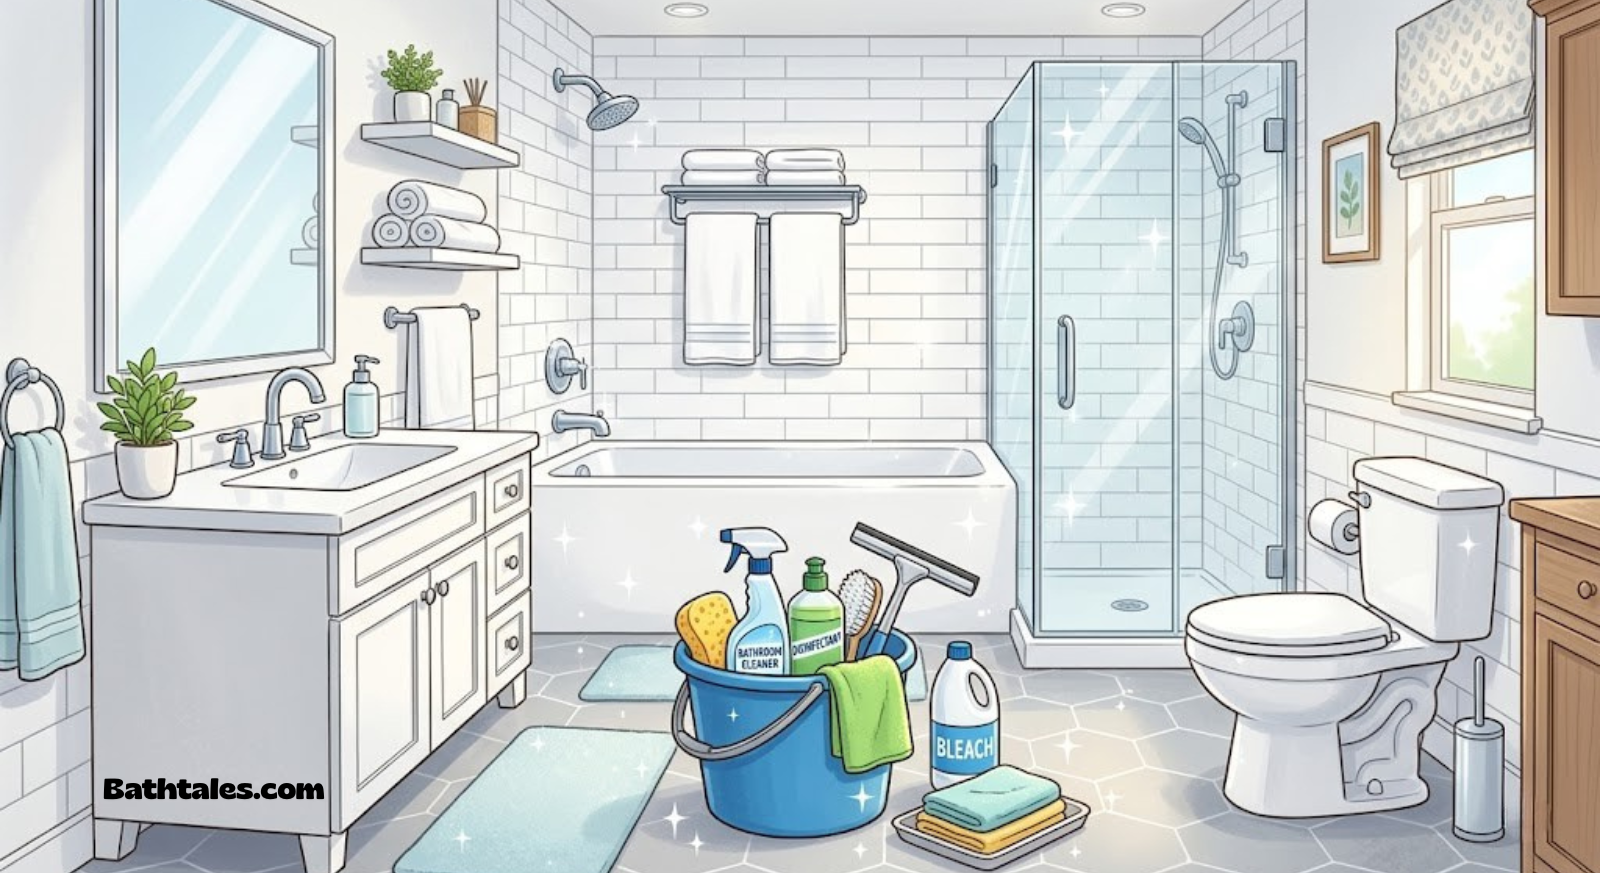
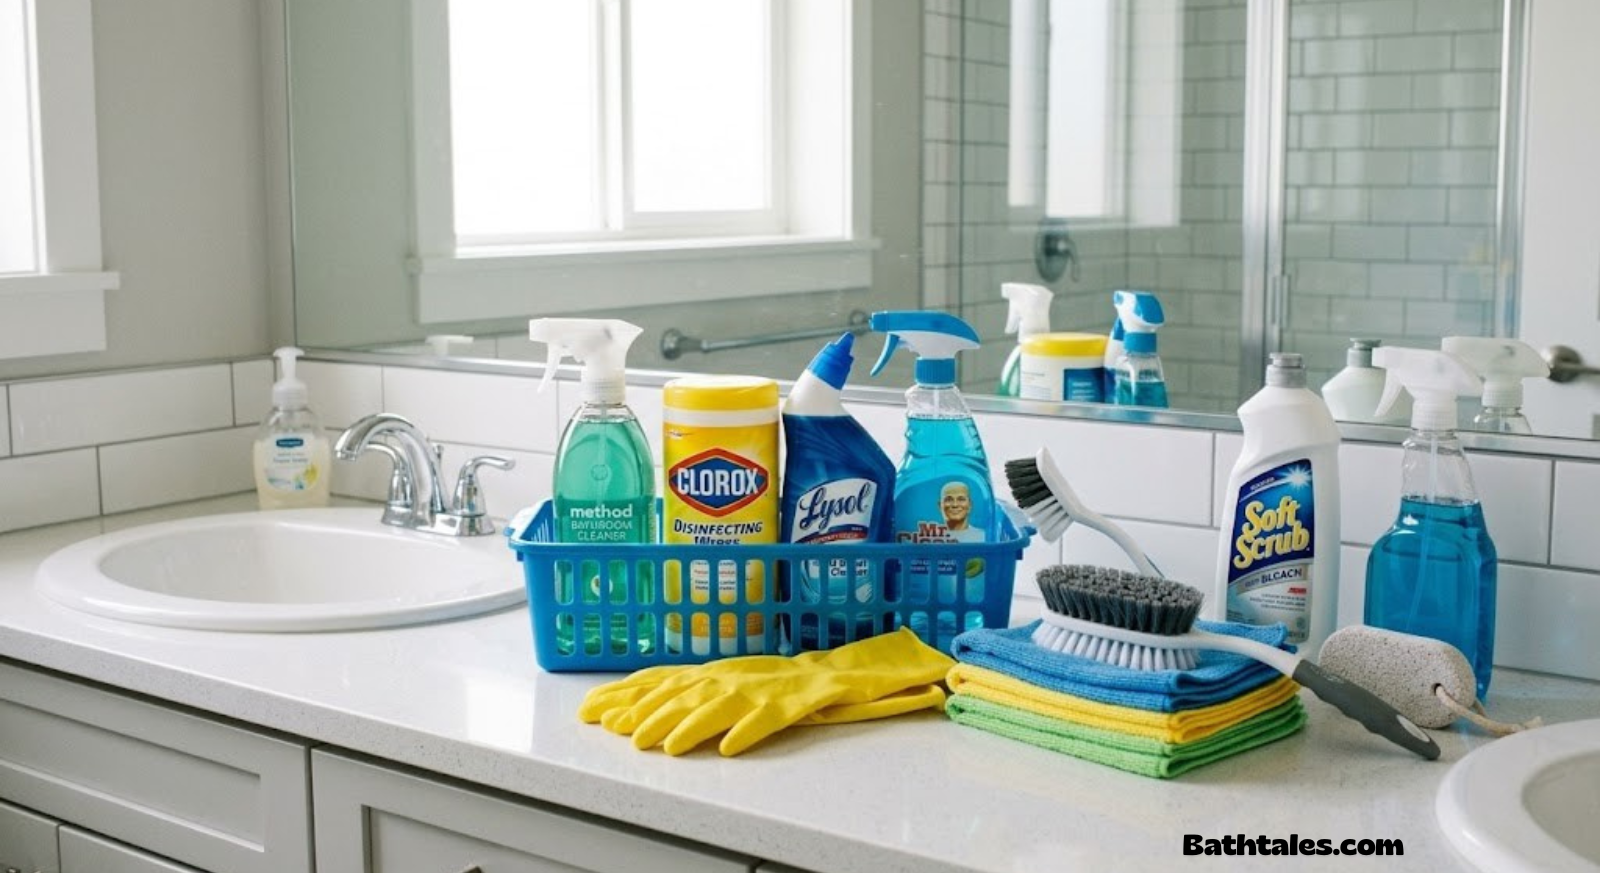
Gathering everything before you start keeps you from tracking wet, gloved hands across the house halfway through. Here’s what a full deep clean typically calls for:
- Rubber gloves
- Microfiber cloths (several)
- An old toothbrush or grout brush
- All-purpose bathroom cleaner
- Baking soda and white vinegar
- Toilet bowl cleaner and brush
- Glass/mirror cleaner
- A mop and bucket
- A squeegee for glass shower doors
- An extendable duster for ceilings and vents

Want it all in one order? A basic bathroom cleaning kit covers most of this list without hunting through separate aisles.
Check Price on AmazonStep 1: Declutter & Prep the Space
Clear every surface — countertops, the back of the toilet, the shower ledge — of bottles, toothbrush holders, and bath mats. You can’t deep clean around clutter, and this step alone reveals a surprising amount of grime that’s been hiding underneath.
Step 2: Dust Top to Bottom
Always work from the ceiling down — dust and cobwebs from vents, exhaust fans, and light fixtures will fall onto lower surfaces, which you’ll clean afterward anyway. An extendable duster reaches ceiling corners and the top of the exhaust fan cover without a step ladder.
Step 3: Deep Clean Grout & Tile
Grout is porous, which means it absorbs soap residue and moisture far more than the tile around it — this is where most of a bathroom’s hidden griminess actually lives. A paste of baking soda and water, scrubbed in with an old toothbrush, lifts embedded dirt without scratching the tile glaze.
3a. Apply the baking soda paste
3b. Scrub and rinse
Work the brush in small circles along each grout line, then rinse with warm water and wipe the tile dry to prevent new water spots from forming while the grout is still damp.
For grout that’s still stained after this, a dedicated no-scrub grout cleaner can finish the job without more elbow grease.
Step 4: Deep Clean the Toilet
A quick wipe misses the areas that matter most — under the rim, the base, and the hinges. Apply bowl cleaner and let it sit while you clean the exterior, then scrub the bowl last so you’re not re-contaminating a clean surface.
Don’t forget the base and floor bolts, where dust and moisture combine into grime that’s easy to overlook during a quick clean.
Step 5: Deep Clean the Shower & Tub
This is usually the biggest job in the whole bathroom. Soap scum, mineral deposits, and mildew build up on tile, glass, and the tub surface faster than almost anywhere else in the house.
5a. Spray and let cleaner dwell
5b. Scrub and squeegee
Scrub tile and tub surfaces with a non-abrasive brush, rinse thoroughly, and finish glass doors with a squeegee — this single habit is what keeps water spots and soap scum from rebuilding as fast next time.
If the drain has been slow after your shower cleaning, a quick shower drain cleaning routine pairs well with this step.

A dedicated squeegee takes 20 seconds after each shower and dramatically cuts down on soap scum buildup.
Check Price on AmazonStep 6: Sink, Counter & Mirror
Wipe down the counter and sink with an all-purpose cleaner, paying attention to the faucet base where toothpaste and soap residue collect. Finish with a streak-free glass cleaner on the mirror, using a microfiber cloth rather than paper towels to avoid lint.
Step 7: Mop & Disinfect the Floor
Floors go last, once dust and cleaning splatter from every other step have already settled. Use a disinfecting floor cleaner and pay extra attention to the base of the toilet and the corners behind the door — two spots that get missed in a quick weekly mop.
Cleaner Comparison: What to Use Where
| Cleaner Type | Best Surface | Avoid On |
|---|---|---|
| Baking soda paste | Grout, tub surfaces | Polished natural stone |
| Vinegar solution | Glass, mineral deposits, chrome | Natural stone, grout sealant |
| All-purpose bathroom spray | Counters, tile, fixtures | Unsealed wood |
| Bleach-based cleaner | Toilet bowl, white grout | Colored grout, metal fixtures |
| Enzyme cleaner | Drains, organic buildup | Fresh mineral scale |
For a broader rundown of what to keep stocked, our guide to the best bathroom cleaners compares several go-to formulas in more detail.
Natural vs. Chemical Cleaners: Which Should You Use?
Natural (baking soda, vinegar, castile soap)
- Gentle on grout, tile, and most finishes
- No harsh fumes — safer around kids and pets
- Inexpensive and always on hand
Chemical (bleach, ammonia-based, commercial sprays)
- Faster results on heavy mold and mildew
- Stronger disinfecting power
- Requires ventilation and never mixing products
Many people land on a hybrid approach — natural cleaners for routine maintenance, with a stronger chemical formula reserved for a deep clean a few times a year.
Maintenance Tips Between Deep Cleans
- Squeegee the shower after every use. This single habit cuts soap scum buildup dramatically.
- Run the exhaust fan for 20 minutes after showering. Moisture control is the single biggest factor in preventing mold.
- Wipe the counter and sink daily. A 30-second habit that keeps grime from setting.
- Spot-clean grout weekly. Catching stains early means the full paste treatment is rarely needed.
- Keep a hair catcher in the shower drain. It prevents most of the buildup that leads to slow drainage.
Deep Cleaning the Showerhead & Faucets
It’s easy to deep clean every tile in the shower and still walk away with weak, sputtering water pressure because the showerhead itself never got touched. Mineral deposits from hard water build up inside the nozzle holes over time, narrowing the openings until spray patterns turn uneven or the flow drops off noticeably. This is one of the most commonly skipped steps in a bathroom deep clean, largely because the buildup is invisible until you look closely at the face of the showerhead and notice a chalky, white-to-gray crust ringing each hole.
The fix doesn’t require any special tools. Fill a plastic bag with plain white vinegar, submerge the showerhead in it, and secure the bag around the neck with a rubber band or twist tie so the nozzle face stays fully soaked. Left in place for 30 minutes to an hour — longer for showerheads with heavier scale — the acidity in the vinegar dissolves calcium and lime deposits without any scrubbing. Afterward, remove the bag, run the shower on full hot for a minute to flush out loosened debris, and use an old toothbrush to knock out anything still clinging to individual nozzle holes.
Faucets deserve the same treatment. The aerator at the tip of a sink or tub faucet collects the same mineral buildup and can usually be unscrewed by hand or with pliers wrapped in a cloth to avoid scratching the finish. Soak the aerator in vinegar the same way, rinse it clean, and reassemble. Fixed showerheads that can’t be removed can be cleaned in place by filling a sandwich bag with vinegar and taping it around the head instead of using a rubber band.
For chrome and stainless fixtures, a light buff with a microfiber cloth after every soak keeps water spots from forming while the metal is still damp. Brushed nickel and matte black finishes are more sensitive to vinegar’s acidity, so limit soak time to 15–20 minutes on those finishes and rinse promptly rather than leaving the solution on for an hour.
Deep Cleaning the Bathroom Exhaust Fan
The exhaust fan is the single most overlooked component in most bathroom deep cleans, and it’s also one of the most important. A fan clogged with dust doesn’t move air as effectively, which means moisture lingers longer after every shower — directly feeding the mold and mildew growth a deep clean is supposed to prevent in the first place.
Start by switching off power to the fan at the breaker if you’re comfortable doing so, or at minimum turn the fan off at the wall switch. Most fan covers simply pull down or twist free from two spring clips; a gentle tug at one corner usually releases them. Once the cover is off, vacuum the interior housing and blades with a brush attachment to remove the bulk of the dust, then wash the cover itself in warm soapy water in the sink and let it air dry completely before reattaching — reinstalling a wet cover traps moisture right back where you just removed it.
If the fan sounds noticeably louder or rattles after cleaning, dust buildup on the motor housing is often the cause; a few careful passes with a dry cloth or a can of compressed air can quiet it back down. Fan covers should get this treatment at least twice a year, and homes in humid climates or with daily hot showers benefit from doing it quarterly.
Removing Hard Water Stains & Rust
Hard water leaves two very different kinds of marks in a bathroom, and treating them the same way rarely works well. Mineral scale — the cloudy white or gray film that forms on glass, faucets, and tile — responds well to vinegar or a dedicated lime-scale remover. Rust stains, usually a reddish-orange ring left by a leaking pipe, an old razor, or a metal can left on a wet surface, are actually oxidized iron and need a different approach entirely.
| Stain Type | What Causes It | What Removes It |
|---|---|---|
| Mineral/lime scale | Calcium and magnesium in hard water | White vinegar soak, citric acid, commercial lime remover |
| Rust ring | Oxidized iron from metal cans, fixtures, or pipes | Lemon juice + salt paste, or a rust-specific remover |
| Soap scum film | Soap residue reacting with hard water minerals | All-purpose bathroom spray, baking soda paste |
| Yellowing on porcelain | Long-term mineral buildup combined with grime | Baking soda paste with an overnight dwell time |
For stubborn scale on glass shower doors, a paste of baking soda and a splash of vinegar left to sit for 15 minutes before scrubbing handles most buildup that a spray cleaner alone can’t touch. Rust rings on porcelain generally lift with a paste of lemon juice and coarse salt, worked in gently with a soft cloth — avoid steel wool or anything abrasive enough to scratch the glaze, since scratched porcelain actually accelerates future staining by giving grime more surface area to cling to.
If hard water stains keep reappearing within days of cleaning no matter what’s used, that’s usually a sign the water supply itself is unusually mineral-heavy, and a whole-home water softener may be worth considering as a longer-term fix rather than repeating the same battle every deep clean.
Deep Cleaning & Recaulking Seams
The caulk line where the tub or shower pan meets the tile is one of the most mold-prone spots in the entire bathroom, since it sits at the exact intersection of standing water, warmth, and organic soap residue. A deep clean should always include a close look at this seam, not just a wipe-over.
Light mildew staining on caulk often lifts with a paste of baking soda and a few drops of hydrogen peroxide, left to sit for 10–15 minutes before scrubbing with an old toothbrush. For caulk with mold that’s worked its way into the material itself rather than sitting on the surface, no amount of scrubbing will fully remove it — at that point, cutting out the old caulk with a utility knife and applying a fresh bead of mildew-resistant silicone caulk is the only real fix, and it’s a task that takes most people under 30 minutes once the old caulk is out.
Before recaulking, the seam needs to be completely dry and free of any cleaner residue, which is why this task fits naturally into the tail end of a deep clean rather than the beginning. A thin, even bead applied with painter’s tape on either side of the seam for a crisp edge gives a noticeably more finished result than caulking freehand.
Cabinets, Drawers & Under-Sink Storage
The inside of bathroom cabinets rarely gets touched during a normal cleaning routine, yet it’s one of the most likely places to find expired products, leaked bottles, and a fine layer of dust that’s been sitting undisturbed for months. A full deep clean is the right moment to empty every drawer and cabinet completely.
Once everything is out, wipe down shelves and drawer interiors with an all-purpose cleaner, paying particular attention to the area directly under sink pipes, where a slow drip can leave water rings or even light mold on the cabinet floor. This is also the natural point to check expiration dates — many people are surprised how much sunscreen, medication, or skincare product has quietly expired since the last time the cabinet was fully emptied.
When restocking, grouping items by category in small bins or trays keeps the space usable longer and makes the next deep clean considerably faster, since everything can be lifted out and replaced as a unit rather than item by item.
Stackable under-sink bins make it far easier to keep cabinet contents organized between deep cleans.
Check Price on AmazonBath Mats, Towels & Shower Curtains
Fabric items get overlooked constantly in a bathroom deep clean because the focus naturally goes to hard surfaces, but bath mats and shower curtain liners sit in near-constant moisture and pick up as much soap residue and skin cell buildup as anything in the shower itself.
Most cotton or microfiber bath mats can go straight into the washing machine on a warm cycle, ideally with a rubber or non-slip backing washed on cold to keep the backing from cracking. Shower curtain liners — particularly vinyl ones — do well with a wash cycle alongside two bath towels, which help scrub off soap scum through the tumbling action; hang the liner back up immediately afterward rather than tossing it in the dryer, since heat can warp vinyl.
Fabric shower curtains, as opposed to liners, typically follow the same washing instructions as any other textile and should be checked for a care label before washing, since some heavier or lined fabric curtains are dry-clean only. Bath towels used during the deep clean itself should be laundered separately afterward rather than reused, since they’ll have picked up cleaning chemical residue.
Small Bathroom vs. Large Bathroom: Adjusting the Approach
The seven-step method above works for any bathroom, but the practical experience of deep cleaning a small powder room is genuinely different from tackling a large primary bathroom, and it’s worth adjusting expectations accordingly.
Small bathrooms (under 40 sq ft)
- Full deep clean often takes under 45 minutes
- Ventilation matters even more in a tight, enclosed space
- Fewer fixtures mean fewer places for grime to hide
- Storage is usually the bigger challenge, not cleaning
Large bathrooms (primary suites, double vanities)
- Budget 90–120 minutes for a full deep clean
- Multiple sinks and a separate tub/shower double the grout work
- Larger floor area benefits from a two-pass mop (rinse, then dry)
- Freestanding tubs need their exterior wiped, not just the interior
Whatever the size, the top-to-bottom, driest-to-wettest order stays the same — it’s the time allotted per step, not the sequence itself, that should flex with square footage.
Deep Cleaning a Bathroom After Illness
A deep clean after someone in the household has been sick — especially with a stomach bug, flu, or other contagious illness — calls for a slightly different approach than a routine seasonal clean, with disinfecting taking priority over scent or shine.
High-touch points deserve the most attention: the toilet handle, faucet handles, light switches, cabinet pulls, and the door handle itself. A disinfectant labeled effective against the relevant virus or bacteria (check the product label for an EPA registration number and matching claim) should be applied and left to sit for the full contact time listed on the bottle — most people wipe disinfectant off far too quickly for it to actually work, since the microbe kill claims are based on the surface staying wet for a specific number of minutes.
Towels, bath mats, and any washcloths used during the illness should be laundered on the hottest setting the fabric allows, separately from other laundry, and the toilet brush holder itself — often ignored — should be sprayed down and left to dry completely, since a damp brush holder is a small but real reservoir for bacteria.
Move-Out & Move-In Deep Cleaning
A move-out bathroom deep clean has a different goal than a routine one: it needs to hold up to close inspection from a landlord, property manager, or new buyer, which means every visible surface needs to look close to new rather than just clean by everyday standards.
Beyond the standard seven steps, a move-out clean should include wiping down the inside of medicine cabinets and drawers completely empty, scrubbing scuff marks off the floor and baseboards, removing any built-up soap scum on shower doors down to the glass, and checking the caulk line for mold that might need a fresh bead before a final walkthrough. Renters using this as a security deposit checklist should also photograph the finished bathroom, since documentation matters more than the clean itself if a dispute comes up later.
A move-in deep clean, by contrast, is about resetting a space that may have sat unused or been cleaned by a previous occupant to a different standard — running every faucet and the shower for a few minutes to flush stagnant water from pipes, and doing a full disinfecting pass on the toilet, tub, and sink before anything else touches those surfaces, is worth doing even in a bathroom that looks clean at first glance.
DIY vs. Hiring a Professional Cleaner
Most people can handle a full bathroom deep clean themselves with an hour or two and the tools listed earlier in this guide, but there are situations where bringing in a professional makes more sense than pushing through it solo.
| Factor | DIY Deep Clean | Professional Deep Clean |
|---|---|---|
| Typical cost | $20–$40 in supplies (one-time, reusable) | $80–$200+ per visit depending on region and size |
| Time investment | 60–120 minutes of your own time | None — hands-off |
| Best for | Routine deep cleans every few weeks | Move-out cleans, heavy neglect, mold remediation |
| Equipment access | Basic tools and store-bought cleaners | Commercial-grade equipment and specialty products |
Heavy black mold covering a large area, grout that’s been neglected for years, or a bathroom that needs to be cleaned quickly for a sale or move are the situations where a professional’s time and equipment tend to pay for themselves. For everything else — the routine few-times-a-year deep clean most bathrooms need — the DIY method above gets comparable results for a fraction of the cost.
Deep Cleaning With Kids & Pets at Home
Households with young kids or pets need to think about product choice and timing a little differently than a typical deep clean, since both curious toddlers and pets tend to investigate a freshly cleaned bathroom before surfaces have fully dried or off-gassed.
- Choose fragrance-free, low-VOC cleaners where possible
- Keep the door closed and fan running during and after cleaning
- Store all cleaning products up high, never under the sink, if a toddler is in the house
- Rinse surfaces an extra time if a pet is likely to lick the tub or floor
- Avoid bleach-based cleaners in homes with birds, given their sensitivity to fumes
- Let floors dry completely before letting pets or kids back in to prevent slipping
Natural cleaners like baking soda, vinegar, and castile soap are a reasonable default for most of the process in these households, reserving stronger chemical products for specific problem spots like heavy mold, with extra ventilation time before anyone re-enters the room.
Common Deep Cleaning Mistakes to Avoid
A handful of habits quietly undercut an otherwise thorough deep clean. Watching for these tends to matter more than any single product choice.
- Mixing bleach and ammonia-based cleaners. This combination produces toxic fumes and should never happen, even accidentally between different products used back to back without rinsing in between.
- Cleaning bottom-to-top instead of top-to-bottom. Dust and drips from upper surfaces will re-dirty anything already cleaned below.
- Skipping the exhaust fan. A clean bathroom with a dust-clogged fan will develop mold again faster than expected.
- Using the same cloth on the toilet and the counter. This is one of the fastest ways to spread bacteria to a surface that gets touched far more often.
- Not rinsing baking soda paste completely. Leftover residue can leave a dull film on tile and glass once it dries.
- Ignoring the caulk line. Surface cleaning tile while mold sits untouched in the caulk seam just means it comes back within days.
- Wiping the mirror with the same cloth used for the sink. Soap residue on the cloth causes streaking that a separate glass cloth avoids entirely.
A Seasonal Deep Clean Schedule
Spreading deep-clean tasks across the year, rather than trying to do everything at once, keeps the workload manageable and catches problems — like a slowly failing caulk seal or a mineral-clogged showerhead — before they become bigger jobs.
| Season | Focus |
|---|---|
| Spring | Full seven-step deep clean, plus cabinet declutter and expiration check |
| Summer | Showerhead and faucet descaling, exhaust fan cleaning |
| Fall | Caulk inspection and recaulking as needed, textile wash (curtains, mats) |
| Winter | Full seven-step deep clean, grout resealing check |
This roughly quarterly rhythm keeps any single deep clean from turning into a multi-hour project, since no one season is stacked with every task at once.
Frequently Asked Questions
How long does a full bathroom deep clean take?
Most bathrooms take 60–90 minutes for a thorough deep clean, depending on grout condition and shower size.
Should I clean the ceiling and vents every time?
A full dust pass isn’t needed weekly, but check the exhaust fan cover monthly — dust buildup there reduces its effectiveness at controlling moisture.
What’s the best way to remove black mold from grout?
A baking soda paste handles light mold, but persistent black mold usually needs a dedicated mold-and-mildew remover with proper ventilation during use.
Can I use the same cloth for the toilet and the sink?
No — use separate cloths for the toilet area and other surfaces to avoid cross-contaminating cleaner areas of the bathroom.
Is vinegar safe on all bathroom surfaces?
It’s safe on glass, chrome, and most tile, but avoid it on natural stone like marble or granite, since the acidity can etch the surface over time.
Why does my bathroom smell musty even after cleaning?
A musty smell often points to trapped moisture behind the wall, in the exhaust duct, or in a slow shower drain rather than a surface cleaning issue.
How do I deep clean a bathroom without harsh chemical smells?
Stick to baking soda, vinegar, and castile soap-based cleaners, and keep a window or exhaust fan running throughout the process.
Should shower curtains be washed during a deep clean?
Yes — most fabric shower curtains and liners can go through a gentle wash cycle with a few towels added to help scrub off soap residue.
What order should I clean the bathroom in?
Top to bottom, driest to wettest: ceiling and dust first, then surfaces, then the shower and toilet, and floors last.
How often should grout be resealed?
Sealed grout typically needs resealing every 1–2 years; if water no longer beads on the surface, it’s a sign resealing is due.
A Deep-Cleaned Bathroom Is Worth the Hour It Takes
Working top to bottom, section by section, turns an overwhelming job into a manageable one. Do it thoroughly a few times a year, keep up with the small maintenance habits in between, and your bathroom stays genuinely clean — not just tidy on the surface.
Shop Bathroom Cleaning Essentials